Engagement quilt/Christmas present for my brother and his fiancee – part 3

Last post!  R and M’s engagement/Christmas quilt!

In my last post, I wrote about how I assembled the quilt.  Today my post is about the quilting.

I did some quilting by hand and some by machine.  Here are the threads I used:

IMG_7372

I do not appear to have taken any pictures of the machine quilting I did.  I apologize for the oversight.  I did a crisscrossing pattern on the white border, which came out really pretty.  I used several different colors – dark green, light green, and two or three pinks, including a burgundy.  You’ll have to take my word for it.

I also quilted along the Xes – which, again, I do not appear to have taken pictures of.  I just quilted down the middle.  I used forest green thread.

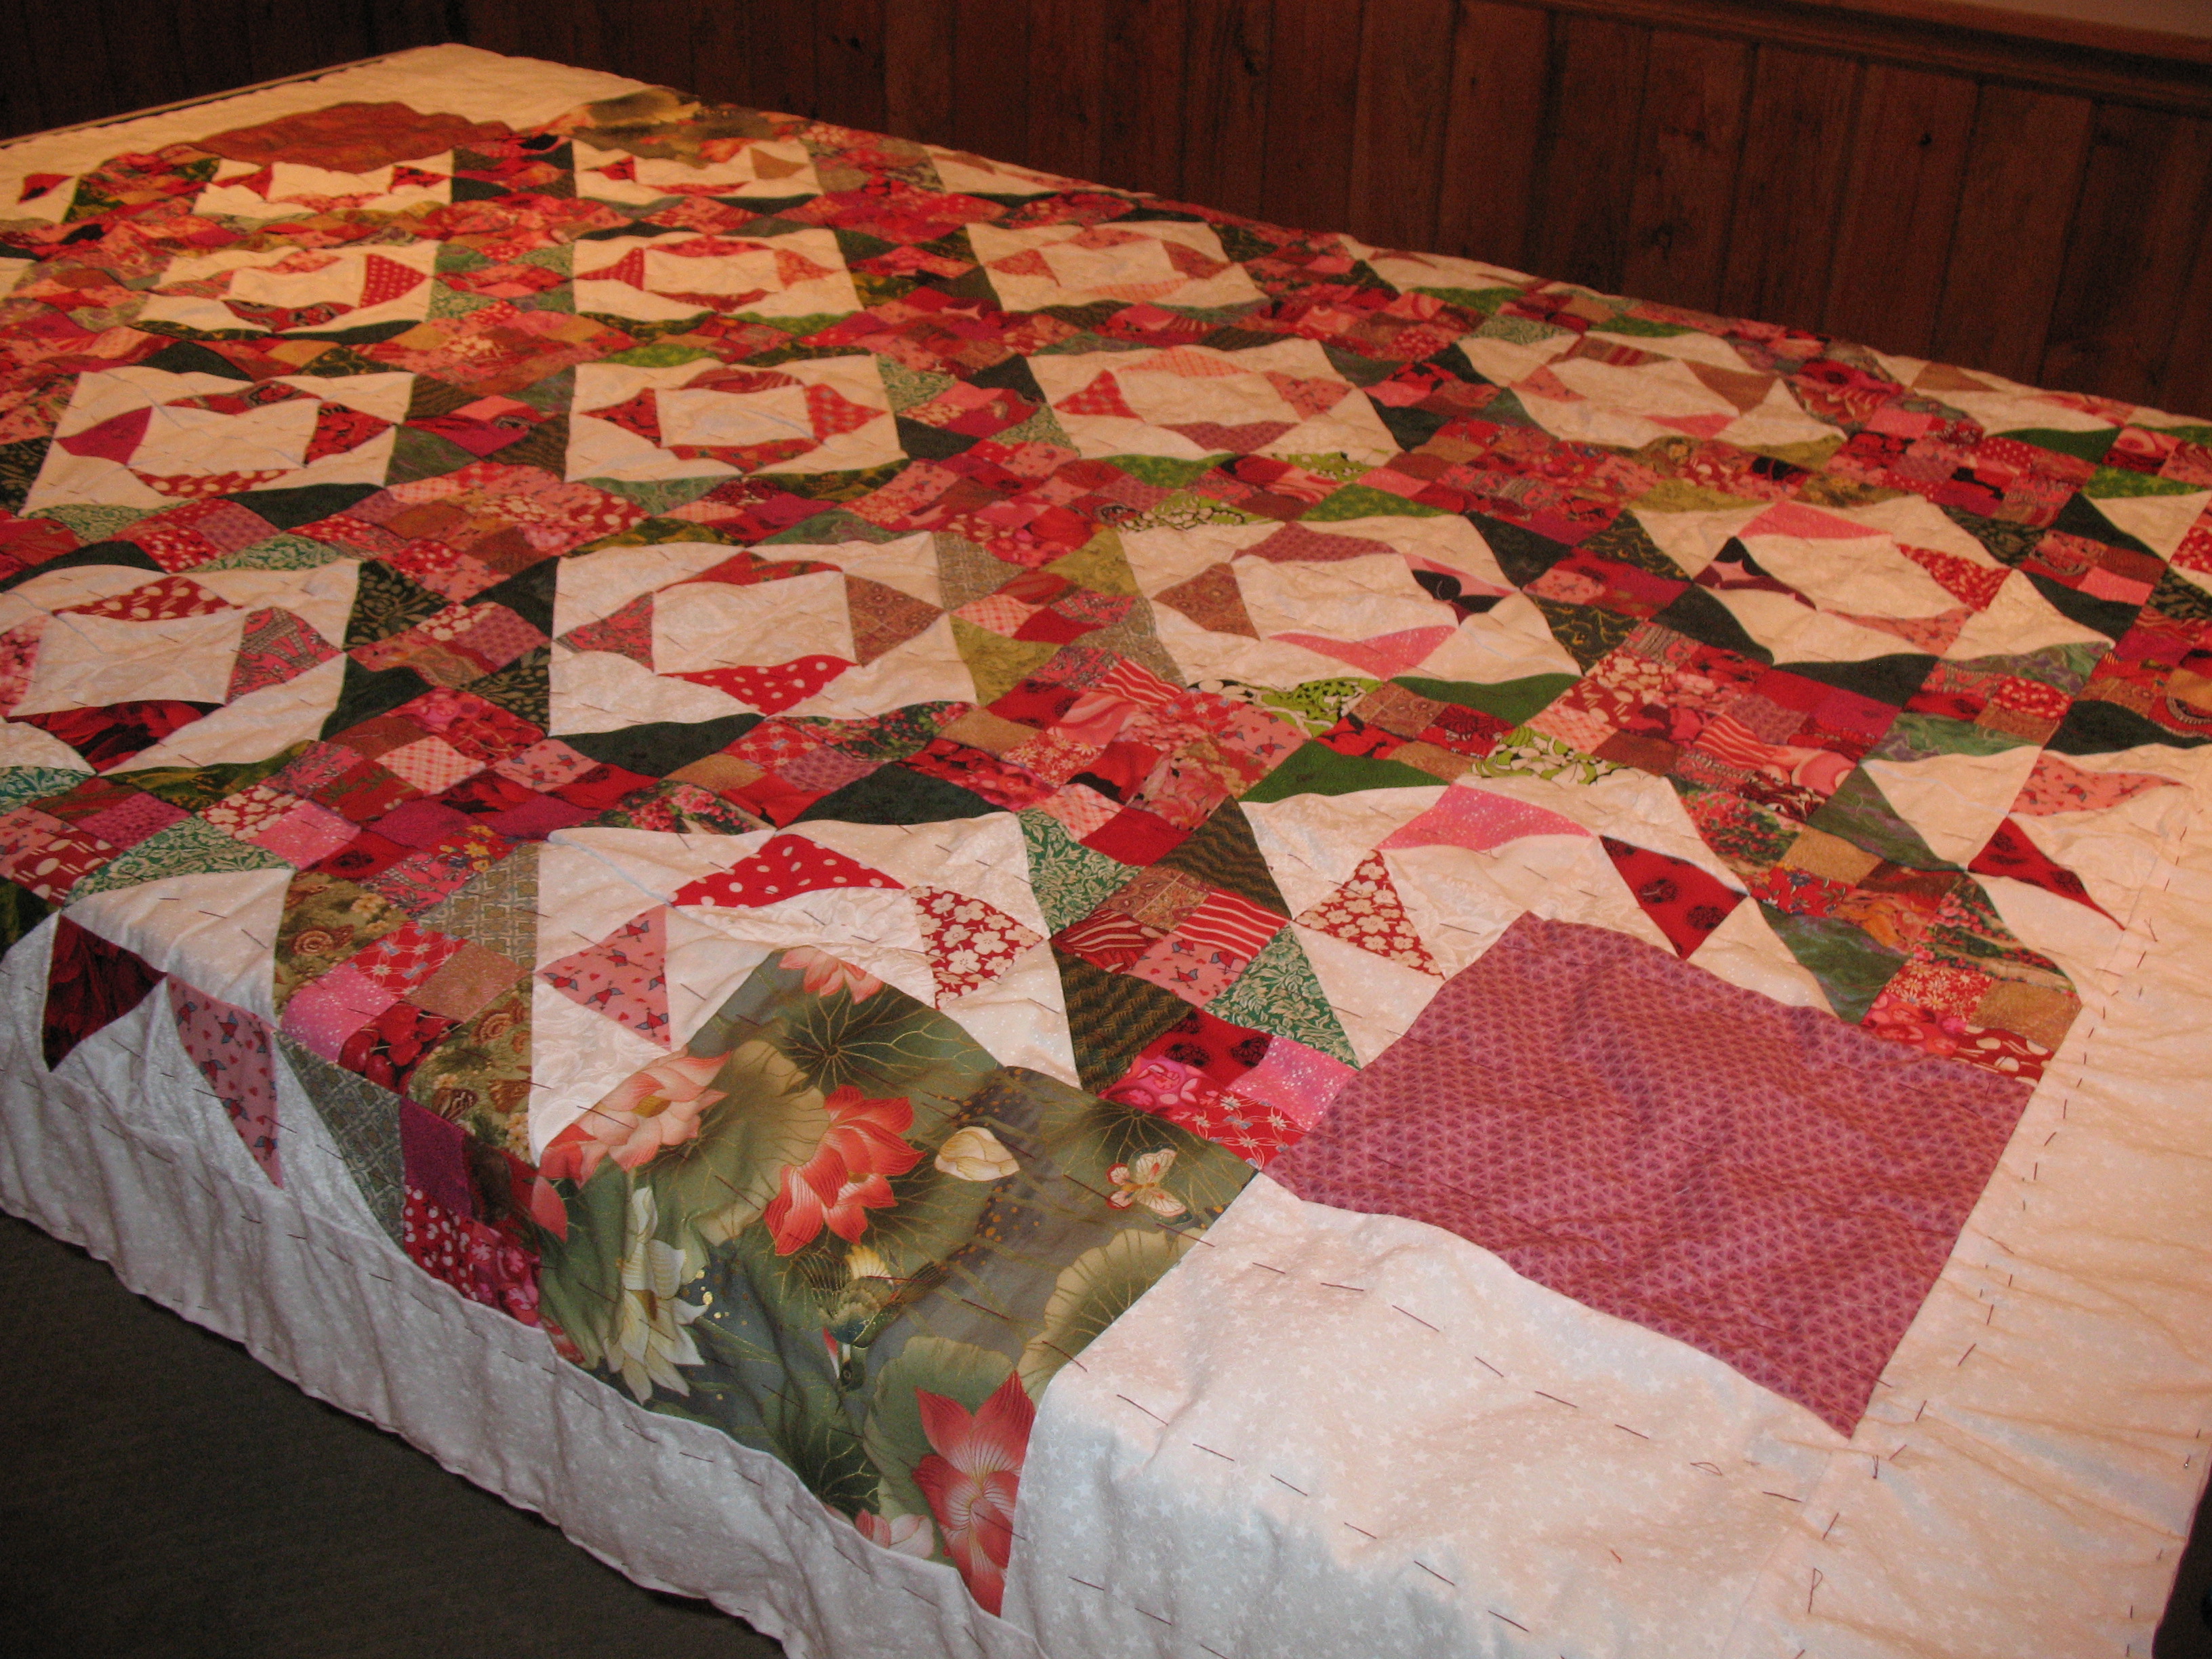
I hand-quilted pairs of hearts in each center white square.    I did a whipped running stitch, with the base in forest green and the whipping in lime green.  As you can see, the hearts overlap onto the red and pink triangles.  I did my best to center them.

IMG_7419 IMG_7420

As I quilted, I snipped out the basting stitches.  I did the edges first, then the hearts by hand, then the machine quilting of the Xes last.

I had two large white blocks on opposing corners, which I saved for last.  I knew I wanted to decorate them with something special.  I found the following pretty pattern, which I outlined in a running stitch.  I did the heart in a variegated pink thread and I did the “leaves” (I thought of it as a flower with a heart in place of the blossom) in alternating forest green and lime green.

IMG_7415

IMG_7416

In the other corner, I embroidered R and M’s initials. I used red for him and pink for her – their favorite colors – and two little hearts in the same variegated threads.  Bonus!  This picture shows some of the crisscrossed machine quilting I did on the white border.

IMG_7418

I used a fabric pen and wrote their names and “Christmas 2012” on the back and signed it.

I finished the initials while Papa S was picking up R from the airport for Christmas, so I cut it pretty close when it came to finishing this present.

Here are pictures of R opening the quilt:

IMG_7421IMG_7426 cropped

Yes, he immediately swathed himself in it and peered out at us from behind it, looked delightfully deranged.

I visited R and M in January and they had the quilt out on the spare bed!  I got to sleep under it.  Sorry the picture is so small – I was hoping it would show more of the machine quilting, but it does not.

Ryan and Marie's quilt

This ends the three-part series.  🙂  Look for a new project in my next post.  All I can promise is that it will be colorful.

Engagement quilt/Christmas present for my brother and his fiancee – part 2

Part 2!  Quilt assembly!

R and M’s quilt is king-size adjacent (i.e. large enough to cover a king-sized bed but not actually the size of a king-size quilt), which is too large for me to lay it out on my floor and assemble.  I had decided to take it home at Thanksgiving and lay it out on R’s floor, because he wouldn’t be home, but the way things are arranged in his room meant that it wasn’t the ideal solution I’d thought it was.  However, Mama and Papa S have a ping pong table, so I got their permission to appropriate it for a day or so.  I removed the net so I’d have a large flat surface.

Here’s the quilt top – this is the only way we could get a full-length shot:

IMG_7355

Isn’t it pretty?

First I laid out the backing, a pale pink fabric that I’d bought yards and yards of.  It works well as a backing but I think otherwise I’ll need to use it sparingly because it’s a little too baby pink for my take.

Next I laid out the batting, centered on the ping pong table.  The table was the right length for the quilt but not the right width, so the batting and the backing were hanging over the edge.  I made sure the batting lined up with the edge of the ping pong table, to make sure everything was lined up properly.  I’m not sure I have pictures of this or that I’m explaining it properly, so sorry about that.

Finally I laid out the quilt top and, again, I centered it.

IMG_7359 IMG_7360

Normally I pin through all the layers, but I then I shed pins everywhere.  I find them on the floor of my apartment days after I’ve been pinning.  My parents have dogs and I didn’t want to drop pins in the house.  Also, I knew I’d be transporting the quilt back to my apartment, and again I was worried about the pins.  So I decided to forego pins and baste the quilt.  I think I was overzealous in my basting – I basted though the border and through each row of the quilt – not a row of Xes, but each row of small patches (i.e. there are three rows of four-square patches and half-triangle squares in each block that I made, and I sewed down the length of the quilt through each row).  It took me a long time, much longer than I’d expected.

IMG_7363

I trimmed around the edges of the batting and backing to get rid of the excess fabric, and then I pinned the edges down.  (This was the only pinning I did.)

IMG_7370

Using the pool table actually worked really well.  I’ll definitely do this in the future, especially for larger quilts.

Next time: the quilting!