Happy Memorial Day! I hope you’ve all had a lovely holiday weekend.
I know I haven’t posted about either of my big quilts in a while. It’s because I have so much to say – and so little time to draft my posts – so instead I’ve been writing short little posts about presents I made for people. Don’t worry, though, I haven’t been neglecting my charity quilt or the Hunter’s Star quilt! I’ve been working on both of them, as quickly as I can. I wanted to post about my charity quilt today because I did so much work on it this weekend.
The charity quilt has been giving me agita. There are several issues at play here:
1. I have two months to complete this quilt, from mid-April to mid-June. Two months is enough time to make a twin-sized quilt, but not when I’m out of town five of the weekends in between. I should not have committed to this quilt, although at the time I don’t think I realized what my May and June would look like, and I was really excited to participate. On the upside, the last weekend before the quilt is due will be my quilt retreat, so I’ll have time to work on it then. However, I wanted to have the quilt top done this weekend and the quilt assembled before I went to the retreat, so I can focus on the quilting and the binding on the retreat; it’s increasingly looking like I not only won’t have my quilt sandwich assembled but I won’t necessarily have my quilt top done before the retreat.
2. I chose too complicated of a design, given my time constraints. I love hexagons and I really wanted to do that, but hexagons require a lot of cutting and piecing. I should have chosen something simpler, like a strip quilt. It wasn’t until this Saturday that I realized how much trouble I was in due to the complicated pattern. Over and over this weekend I bemoaned to myself the fact that I didn’t choose a simpler design.
3. I probably could have finished the quilt top this weekend, even with the complicated design, had I spent the full three days sewing and done nothing else. However, I had some plans with friends and with Z and I lost about a day of sewing there.
Anyway, enough griping. To the quilt!
I think I mentioned in my last post that I cut triangles for the hexagons and then at some point figured out that I could use my Hex’n’more tool to cut half hexagons, which would be faster. So I ended up with a big pile of triangles and a big pile of hexagons. I’d had some time to think about the design I wanted (because I had two travel weekends in between cutting and sewing) and I decided for to make a big block in the center with the triangles. I decided to make stars with them – six pointed stars, made from a hexagon and then an additional triangle on each spoke, like this:

I made my stars and then filled in around them. I ended up making six stars: a light grey stripe, a grey and orange stripe, a dark grey, two dark oranges, and a light orange kind of check. In the picture above, I’ve already laid out three stars (which I later moved around) and the dark grey and dark oranges are still piled up. I used a different light orange check and the remaining grey and orange stripe as filler.


I used up almost all of my triangles. I have a few left over – they’ll be reappearing in some charity project or another in the future. I sewed them into rows and added the blue triangles to the ends to square off the edges. (They are also cut from a 4.5″ strip, just like my triangles and half-hexagons. I cut the strip into 3.5″ pieces and used my Hex’n’more tool to cut two of the triangles from each piece.)
I don’t know if you can tell in the above picture, but the bottom row in the picture has a mistake. The orange half-hexagon in the center is upside down. Luckily I noticed it before I attached all the rows together and added the bottom three rows. (My bed wasn’t long enough so I waited to do the last three rows until the end. The last three rows mirror the top three rows so I was able to follow that design. It may not show up well in pictures; the light falling on my bed distorts the colors at the end near the window.)


All better!
Below is the finished center section. This picture has even worse glare issues. I managed to drop my camera while I was trying to take photos, and now the lens won’t open properly, so I switched back to my phone. Hopefully I can get the camera fixed this week.

I’m pretty happy with the center. I don’t love the color scheme but I do really like the star pattern. I’ll be using that again.
The center measures approximately 30″ by 70″. Since this needs to be a twin sized quilt, I pulled out my half-hexagons to figure out a design surrounding it. My thought was to add a thin blue border matching the edge triangles, and also use the same triangles on the half-hexagons. I haven’t done that yet – sadly I’m not at that point!
I started with the sides, which I wanted to be approximately 18″ by 70″ (they can be a little smaller because I’ll add the inner border and probably an outer border). I wasn’t thinking about color combinations when I cut the pieces, and I really was not happy with layout I came up with. This caused me additional stress on Monday afternoon, when I was already worried about timing. I’ve never made anything that I thought was ugly, and I didn’t like what I’d put together.

I even went back to my remaining fabrics to see if I had enough to finish the quilt with just wide borders. (I didn’t.) So, unhappily, I put this section together – it will be to the right of the center. (Or to the left – it doesn’t matter.)
Once I put it all together and added the blue triangles to the edges, I felt so much better about it.

Doesn’t that look better? The blue really complements the orange nicely and it looks cool and modern, instead of “Halloween-y,” as my roommate put it. I’ve stopped fretting about it.
I sewed those rows together and sewed each of the rows for the left side section, although I haven’t put them all together yet. Note that the left and right sections are mirror images of each other. (Do you ever count how much more you have to do by seams you have left to sew? I have 17 seams to sew on the left side panel.)
So here’s what I still need to do:
– Come up with a design for the top and bottom sections. (Each section needs to measure approximately 10″ by 66″. I already have some idea of how I’ll use the rest of my half-hexagons, but I need to lay them out to actually see what they’ll look like.)
– Sew the top and bottom sections.
– Calculate how wide of an inner blue border I need in order for everything to line up (and hope I have enough of the blue to do that) and sew all the sections together.
– Assemble the quilt sandwich.
– Make my scrappy binding. (I cut leftover scraps while I was cutting out my triangles and half-hexagons but I’m not sure there’s enough. I’m planning to worry about it when I actually get to that point.)
– Quilt it.
– Bind it.
That’s a lot more to do! I don’t usually sew much in the evenings after work because I don’t get home until pretty late, but this week I’m going to try to devote more time to that. I think I can do those 17 seams tonight after work! (I should add that I still haven’t finished my Hunter’s Star quilt, although I’ve done quite a bit of quilting on it and I might make that my post for next week. I do want to share it!) It’s a busy couple of months here. I’m doing the best I can to finish everything.


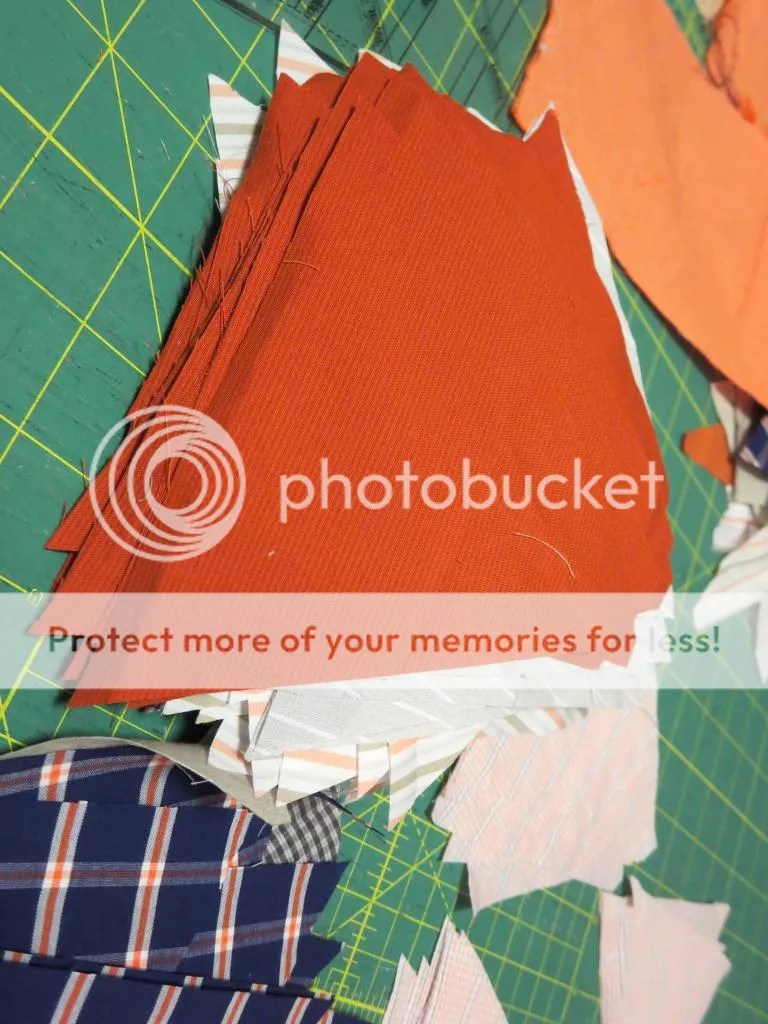
 Here are the fabrics. They’re very nice quality but the colors aren’t quite what I’d choose. (I love orange but a couple of these oranges are kind of garish.) I figure it should make a pretty masculine quilt, though.
  I started cutting triangles for the hexagons. At some point I realized it would be faster to cut half-hexagons, only the striped fabrics would look cooler if they were cut as triangles and sewn with all the stripes going into the center. Also, I’d already cut a bunch of triangles. I decided to switch to half-hexagons, though.
